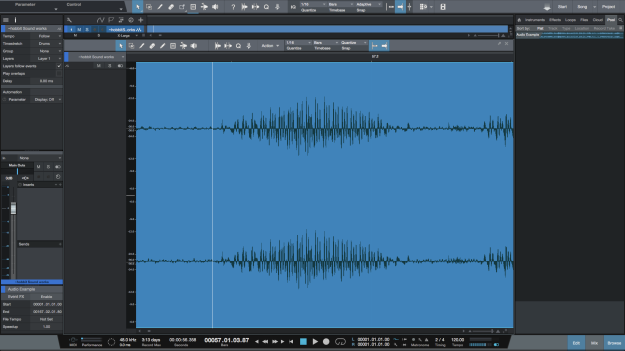
Coming from a Pro Tools background, I am much more accustomed to using key commands then using my mouse or track pad. Although Studio One offers quick & easy zooming both horizontally and vertically, I quite like the idea of being able to zoom in with the press of a single key command as opposed to having to hit the “E” or “W” key repeatedly.
In Pro Tools, one was able to store zoom presets that were mapped out to keys 1-5 on the keyboard. I found these came in very handy when editing as I could instantly zoom in and out at varying resolutions.
By far one of my favourite features in Studio One is the ability to create Macros, and assign them to a keyboard shortcut. So basically, whenever you find yourself saying “I really wish they had a key command that did this”, you can simply create one. This can really help to enhance your personal workflow.
So lets look at how to do this in Studio One. First of all, we need to determine what it is that we want Studio One to do. In my case, I’ve opted to create a horizontal Zoom in macro that simply stacks 3 ‘zoom in’ commands (mapped out to the E key be default) on top of each other. This way I can get to where it would normally require me to press the E key 6 times, by using only 2 key commands. As for zoom out, (mapped out to the w key be default) I currently have it set to the same amount – zooming out 3x. Although depending on what type of editing work Im doing, I sometimes change it to 4 or 5. ie. when editing samples.
Setting up The Macro
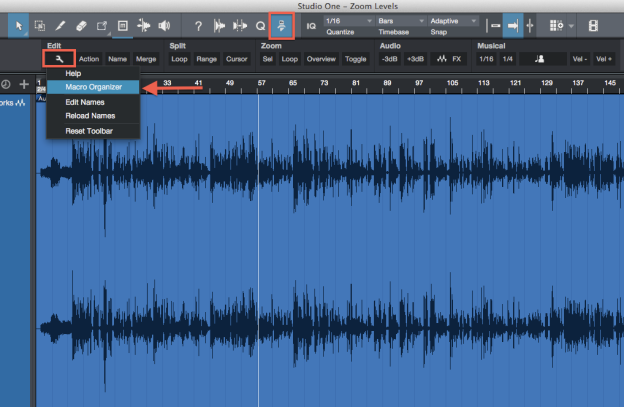
Part 1: Creating the Macro
Simply open up the macro toolbar by clicking the icon, then click the wrench icon, and select “Macro Organizer” as seen below
Then, click “New” from the Macro Organizer options.

Enter “Zoom” into the search field, then find the appropriate command (in our case its Zoom In) and ‘add’ it 3 times. Lastly, give your Macro a name, in our case we will call in “Zoom in 3x”. Lastly, click OK when you are done.

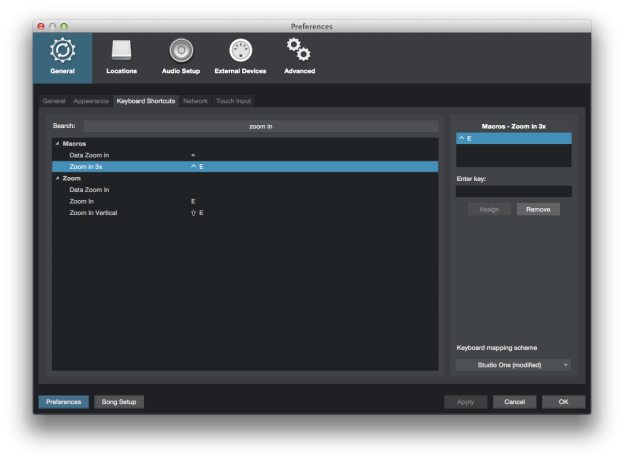
Part 2: Mapping out the Shortcut:
The last thing we need to do is map out our Macro to a keyboard shortcut. If we open up our keyboard shortcuts, and do a simple search, you will see that it shows up under Macros. Now we just need to assign a key command to that Macro. In my case, being on a MAC, I have chosen to use “control + E”. You can choose whatever you’d like to use.
Simply repeat the same above steps to map out the same type of of Macro for zooming out, and you are done. Now we can zoom in and out quicker, and more efficiently, allowing us to navigate our sessions much easier. These of course can be used in combination with our other zoom shortcuts we already have available, to give us another layer of flexibility when needing to zoom to a desired level in a project.
